
Home & Garden
A Weekend Cabinet Refresh: Handles, Hinges and Drawer Runners
Measure hole centres, projection and door thickness before you order, then work through hinges, handles and runners in an order that avoids re-drilling.

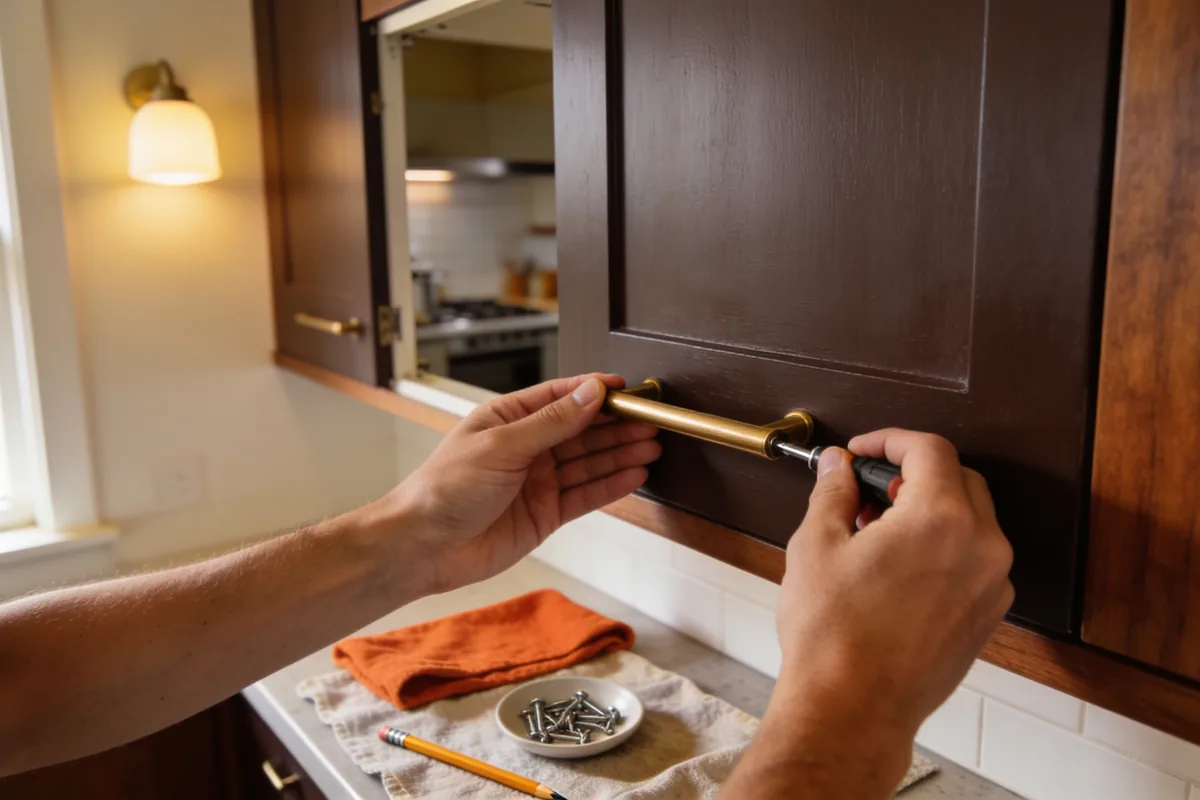
There is a version of a kitchen refresh that does not involve a renovator, a skip or a fortnight of washing up in the laundry. It is the one where the cabinets stay and the parts that move are replaced: handles, hinges and drawer runners. One weekend, a few tools, and hardware ordered in advance. The cabinets feel new because everything that opens and closes works like new.
This is the project version: what to measure before you order, what you can swap without drilling, and the jobs where you want a second pair of hands.
Before You Order: Measure Everything
The whole project depends on ordering the right parts, and the measurements that matter are not obvious from a catalogue:
- Handle hole centres. The distance between the two fixing holes, measured centre to centre. Take a handle off and measure the holes in the door or drawer front, then order to that number. Match it and the swap is a screwdriver job; miss it and you are filling and re-drilling.
- Projection and clearance. How far a new handle stands out from the front, and whether it will foul the adjacent cabinet, the drawer below or a wall when things open. Check this before ordering, particularly for corner units.
- Door thickness. It decides whether the existing hinge plates can stay or need changing, because the cup depth and screw length have to suit the door.
- Runner length and fixing pattern. Measure the old runner, not the drawer box, and note where its screw holes sit. Screw positions vary between makes, and the replacement has to line up with the old holes or you are drilling new ones.
Photograph each measurement with a ruler in frame. It takes minutes and settles any later argument about what was ordered and why.
What Swaps Without New Drilling
- Handles replaced like for like on hole centre. The simplest swap there is: unscrew, screw, done.
- Knobs replaced with knobs of the same fixing, or a single-hole design replacing a single-hole design.
- Soft-close dampers clipped onto existing hinges, where the hinge model accepts them. Match the damper to the hinge and check it seats properly before doing all of them.
- Drawer runners replaced with the same length and the same fixing pattern. Match both and it is a straight screw-out, screw-in job.
What Needs More Work
- Changing hole centres. New holes mean the old ones need filling, and the door needs sanding and touching up, which turns a swap into a finishing job. Sometimes worth it; budget the time before you commit.
- Switching runner types, for example side-mounted to under-mount. These rarely share a fixing pattern, so expect new screw holes, and check the drawer box is compatible with the style you are moving to.
- Replacing hinges with a different cup size or overlay. The existing cup hole will be wrong, and cabinets do not forgive drilling mistakes. In most cases, matching the hinge you have and adding soft-close is the better path.
Where a Second Pair of Hands Helps
Most of a cabinet refresh is a one-person job, until it is not:
- Hanging doors. One person holds the door in position, the other sets the screws. Working alone risks dropped doors and stripped holes, and the adjustment only takes a moment once the door is on.
- Tall or wide doors, which behave like sails when you are trying to line up a hinge plate.
- Reaching the underside of deep drawers, where one hand cannot hold and drive a screw at the same time.
The Order to Work In
- Empty the cabinets and drawers. Everything out, onto a table or the floor, out of the way.
- Label the doors as they come off. Masking tape with a number on the inside face of each door and a matching note inside the carcass. This is the step people skip and regret.
- Fit the runners and test the drawers before the doors go back on. You want the clear space to work, and adjustment is easier with nothing in the way.
- Re-hang the doors, then set the gaps and alignment using the hinge adjustments rather than force. Good hinges adjust in three directions, so nothing should need bending or pushing.
- Handles last, once every door and drawer is sitting correctly. Measure from the same reference point on every front so the line runs true, and use a drilling template if you are drilling anything at all.
Adjust and Test Before You Restock
- Open and close every door. Listen for rubs and watch the gaps, then correct small errors at the hinge.
- Check the soft-close. If a door or drawer still clunks shut, check the damper is seated and installed the right way up before assuming the part is wrong.
- Load the drawers properly, with the heavy items in their usual places, and confirm the runners take the weight without sagging or sounding gritty.
- Do not solve a loose screw with a bigger screw. A screw that will not tighten at this stage means a stripped hole or a missing pilot, and the fix is filler or a fresh position.
When to Stop and Call a Cabinetmaker
Some cabinets are not worth refreshing. If the carcass is out of square, the shelves have failed, the doors have swollen, or earlier drilling has been done badly, new hardware will dress up a problem that returns within months. In those cases the money is better spent on a professional repair than on another set of handles.
Otherwise, this is genuinely a weekend. Measure carefully, order once, work through the list in order, and the kitchen will feel a decade younger by Sunday night.


Home & Garden
Swapping Gas for Induction Starts at the Switchboard, Not the Cooktop
Swapping a gas cooktop for induction can mean a dedicated circuit or a switchboard upgrade. What to check first, which pans work and what Victoria now requires.


The cooktop is the cheap decision. The circuit behind it is the expensive one.
Most households leaving gas spend weeks comparing induction cooktops and about five minutes thinking about the wiring. That order is backwards. Any decent induction unit will boil water faster than the burner it replaces and wipe clean in seconds. Whether the house can power it without new cabling, a new breaker or a new switchboard is what decides the final bill, and only an electrician can answer that.
So the order of operations is fixed. Electrician first. Benchtop second. Pans third. Cooktop last.
Why the circuit matters
An induction cooktop draws serious current. Energy Victoria’s buyers guide puts typical cooking zones at between 1,600 and 3,000 watts each, with boost functions pushing a single zone above 4,000 watts. Run three zones for a Sunday breakfast and the load adds up fast.
The consequence is stated plainly in the same guide. Most good-quality induction cooktops need more than 15 amps, which is above what common residential power circuits are built to supply. They are usually hardwired by a licensed electrician, and the job may involve running a new dedicated circuit from the switchboard, or upgrading the switchboard itself if there is no room or capacity left in it.
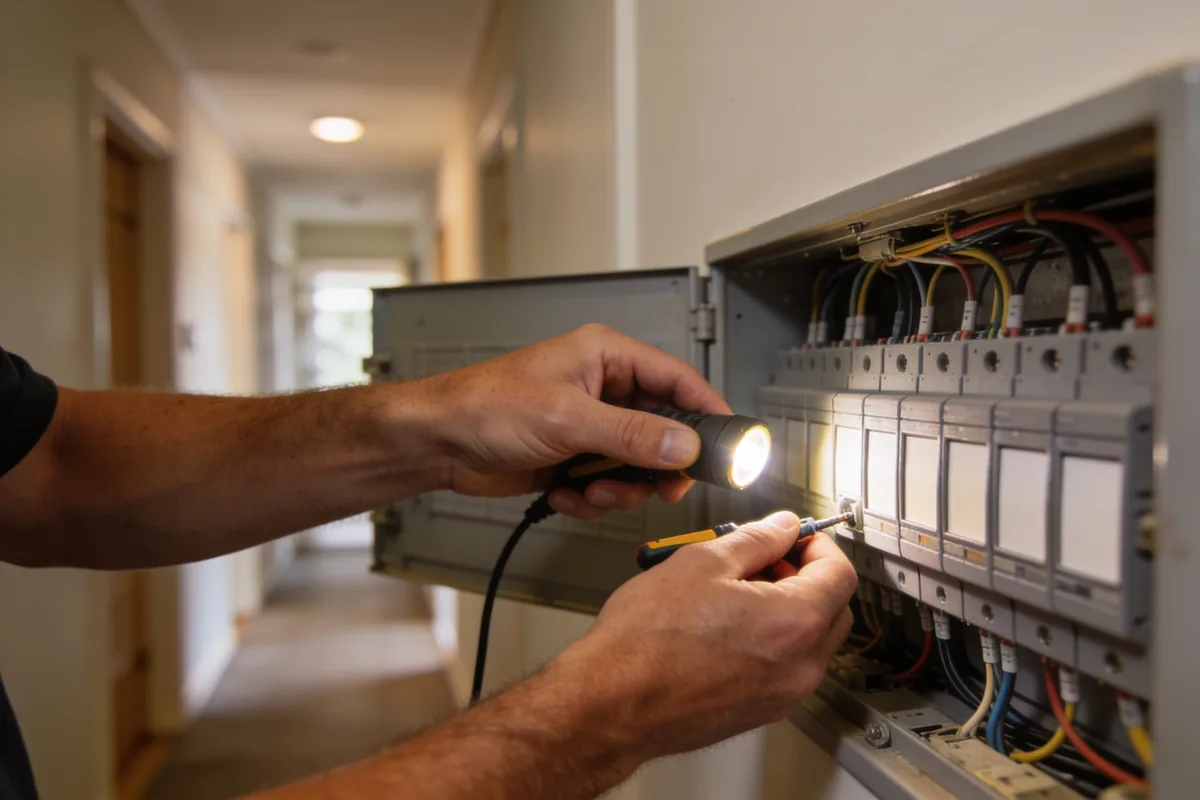
That is the variable that moves the price. A house with a modern board and a spare circuit already run to the kitchen, perhaps left over from an old electric oven, can be a short job. A house with an older board, no spare capacity and a kitchen at the far end of the hallway is a different job altogether. Same cooktop, very different invoice.
Two pieces of reassurance from the guide. Single-phase power is adequate for most homes. Three-phase is rarely needed. Anyone told otherwise should ask why.
Then there is the claim that circulates online: that you can replace a gas stove with induction and plug it into a normal wall outlet. Partly true. Some plug-in models exist, and YourHome notes that lower-power induction models are available. Energy Victoria adds the catch: a plug-in unit on a shared circuit can trip it when other appliances are running at the same time. A cooktop that cuts out whenever the kettle and the dishwasher run is a poor trade for a cheaper installation. The plug-in route suits some kitchens and some cooks. It is a compromise, and it should be chosen as one.
Pans: the magnet test
Induction heats the pan, not the glass. It does that through magnetism, which means the pan has to be made of something a magnet will stick to.
YourHome lists what works: cast iron, mild steel, and most stainless steel, though not all of it. The base has to be ferrous. Anything else stays cold. Plenty of pans are sold with an induction symbol on the base. Where there is no symbol, the test costs nothing. Hold a fridge magnet to the bottom of the pan. If it grips firmly, the pan will work. If it slides off or barely holds, it will not.
Run that test across the whole cupboard before buying anything. Most kitchens turn out better than expected. Cast-iron frypans and many stainless saucepans pass easily. The failures tend to be the old aluminium stockpot and the non-stick pan that came free with something.
Two more points from YourHome. Match the pan to the zone, because a small pan on a large zone wastes most of the zone. And a round-bottomed wok will not sit properly on flat glass. The options are a flat-bottomed wok or a cooktop with a dedicated sunken wok zone. Anyone who cooks stir-fries most nights should settle this before choosing the model, not after.
The pan bill is real but bounded. Replace what fails the magnet test, and only what gets used.
The benchtop cut-out
The hole in the benchtop is the other hidden constraint, and it bites hardest in renovated kitchens.
YourHome points out that induction cooktops come with clearance dimensions that must be respected, and that matching a new unit to the cut-out left by an old gas cooktop can be difficult. Gas and induction units rarely share exact dimensions. A new cooktop slightly larger than the old hole means cutting the benchtop. A smaller one means filling a gap.
Then the material question. YourHome notes that engineered stone may no longer be cut, which means the existing cut-out in an engineered stone benchtop cannot simply be enlarged. A household with that benchtop is choosing from the cooktops that fit the hole it already has, or it is choosing a new benchtop. Those are very different budgets.
Measure the cut-out. Write the dimensions down. Take them shopping. A cooktop that does not fit the hole is the most expensive cooktop in the shop.
What Victoria’s rules require
A good deal of the pressure to switch comes from a vague sense that gas is being banned. In Victoria, the rules are specific, and they mostly concern new homes and hot water.
According to Planning Victoria’s information on the state’s Gas Substitution Roadmap:
- from 1 January 2024, new gas connections are being phased out for new homes that require a planning permit, under planning scheme amendment VC250 and clause 53.03
- from 1 January 2027, all new homes must be built all-electric
- from 1 March 2027, gas hot water systems in existing homes must be replaced with an electric system at the end of their life
- there is no change to existing gas cooking in existing homes
That last line is the one that matters for this decision. Nobody is forcing the cooktop out of an existing Victorian kitchen. The gas cooktop that works today can keep working.
The reason to move, then, is the household’s own: easier cleaning, a cooler kitchen in summer, or a plan to take the whole home electric over time. The last of those is where the hot water rule becomes relevant, because a house replacing its gas hot water with electric is one step closer to having the cooktop as its only gas appliance. Draught-proofing and efficient heating tend to sit in the same plan; our guide to finding where your heat escapes covers the cheapest part of it.
Make the decision for your own reasons. The rule people fear does not exist for existing kitchens.
The cost, honestly
The total has three parts. The cooktop. The electrical work. Any replacement pans.
The cooktop is the part that gets compared. Prices vary widely between models, but it is the most predictable line on the bill because it is on a price tag. The pans are the smallest part for most households, once the magnet test has shown how few need replacing. The electrical work is the line that varies most, because it depends entirely on what the electrician finds at the board and along the path to the kitchen. Get that quote first, and treat any cooktop price as incomplete until the quote is in.
Running costs are a separate question and easy to overstate. What a household pays depends on its electricity tariff, what it cooks and how often, so a single per-meal figure would be a guess dressed up as a fact. The same logic applies to every kitchen appliance. Our piece on whether an air fryer is cheaper to run than an oven shows how the answer changes with the cooking itself, and the method carries over.
One question is worth putting to the household’s own bill. Once the cooktop is the last gas appliance in the house, what is the gas connection costing just to stay connected? Look at the supply charge on the next gas bill and set it against how much cooking that connection is supporting. For some households the answer settles the whole decision.
Discounts
Victorian households can access discounts on eligible built-in induction cooktops through the Victorian Energy Upgrades program, which Energy Victoria runs. This article quotes no amounts, because they are set by the program and can change. Check its current conditions before signing a quote, and confirm with the installer that the cooktop and the job qualify.
Outside Victoria, check what your own state offers. Do not assume either way.
One safety line
Energy Victoria advises that anyone with a pacemaker or other medical implant should speak to their doctor before using an induction cooktop. Induction works through a magnetic field, and the question is a medical one, not a sales one. Ask before buying.
Call the electrician first
The sequence is the whole method.
Book an electrician to look at the switchboard and the kitchen circuit. Find out whether the house needs a new dedicated circuit, a switchboard upgrade, or nothing at all. Get that in writing.
Measure the benchtop cut-out, and note what the benchtop is made of. Engineered stone narrows the field.
Run a magnet across every pan. Keep the ones that grip.
Then shop for the cooktop, with the circuit capacity, the cut-out dimensions and the wok question already answered. Skip the brochure comparisons until those three facts are known. They decide more than any feature list.
Induction is a good cooktop. The swap is only as good as the order it is done in.
Sources: Induction cooktop buyers guide, Energy Victoria (https://www.energy.vic.gov.au/victorian-energy-upgrades/products/induction-cooktop-discounts/induction-cooktop-buyers-guide); Appliances and technology, YourHome (https://www.yourhome.gov.au/energy/appliances); Victoria’s Gas Substitution Roadmap, Planning Victoria (https://www.planning.vic.gov.au/guides-and-resources/strategies-and-initiatives/victorias-gas-substitution-roadmap)
Home & Garden
Planning a Patio, Pergola or Carport Roof: What to Sort Out Before You Order
Approvals, wind classification, beam spans and drainage all need settling before you order a roof. Here is the order to work through a patio or carport project.
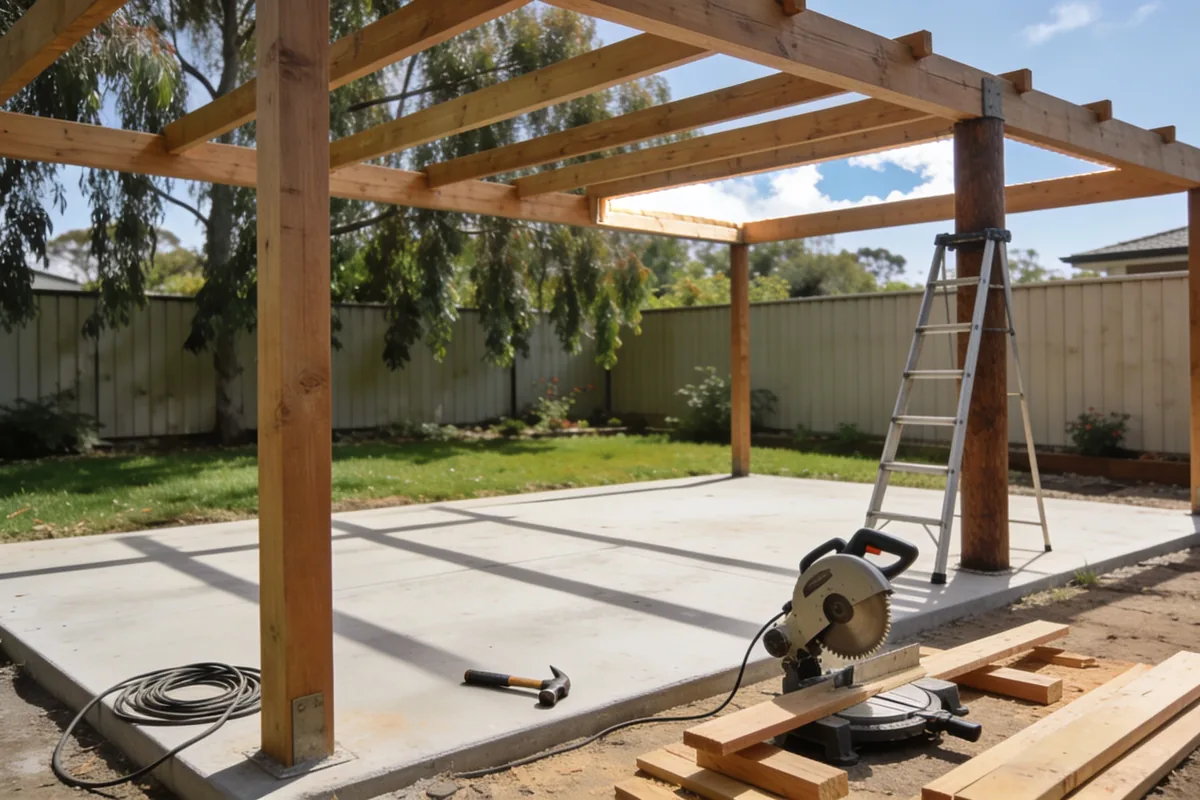
Outdoor roof projects go wrong in a predictable order. The homeowner picks a style, orders materials and books an installer, and only then discovers the site needs a building permit, the wind classification calls for heavier fixings, or the roof’s drainage has nowhere lawful to discharge. By that point the materials are on site and the budget is committed.
The order that works is the reverse: settle the questions first, and order only when each one has an answer. This guide sets out the questions that actually decide the project.
First, Check What Approvals You Need
Whether a patio, pergola or carport needs approval depends on the structure, its size, its setbacks and the rules where the property sits. In most cases a roofed structure attached to a house, or a carport, will require a building permit, and some projects and locations also require planning approval. Structures close to boundaries, larger pergolas, and anything in a bushfire-prone or heritage area attract additional considerations.
The check itself is straightforward: ring the council’s planning or building department, or engage a building surveyor, and describe the project including size, height, setbacks and location. Do it before paying a deposit. Approval conditions can change the design, and a design change after ordering is the most expensive way to learn this.
Wind Classification Matters More Than the Style
Every site in Australia has a wind classification, determined under the National Construction Code and the standards it references, based on the region, the terrain and the surrounding features. The classification sets how strong the structure has to be: the fixings, the post spacing, the beam sizes and the way the roof is tied down.
This is the detail that separates a structure that lasts from one that lifts in its first storm. A coastal site, an exposed hilltop or a property with long open ground on the windward side can carry a different classification from a sheltered suburban backyard a few streets away, and the two projects need different specifications even when the two roofs look identical. A supplier or installer working from the address and site conditions should be able to show how the classification was determined. A quote that does not mention it is a quote built on an assumption.
The Structure Comes Before the Roof
The choice of roof material and the design of the frame are connected, in that order of dependency. Different roof materials carry different weights, and the span between posts determines the beam sizes that can carry the roof across it. Choose the roof first and the frame has to be designed around it; design the frame first and some roof options are eliminated on structural grounds.
For anything beyond a small pergola, the span and loading questions should be answered by someone who can show the numbers: a licensed builder, an engineer, or an installer backed by engineering documentation for their system. The span tables and fixing details that come with a manufactured system are only valid for the wind classification and spans they cover, and stepping outside those limits voids the very documentation being relied on.
Drainage: Decide Where the Water Goes
A roof that collects water has to send it somewhere lawful and sensible. On an attached structure that usually means gutters and downpipes connected to the property’s stormwater system, not discharged over a fence, into a neighbour’s yard, or onto a garden bed where it will undermine the posts over the years.
Two questions to answer at the planning stage: is there capacity in the existing stormwater to take the additional roof area, and does the downpipe route cross anything that needs moving? On larger roofs and smaller sites, a rainwater tank can answer both the capacity question and the waste of watching free water run away, if it is placed and plumbed to suit.
Who Is Licensed to Do What
Outdoor structures involve more than one trade, and more than one responsibility:
- Permit work needs the right practitioners: a registered building practitioner for design and construction, and a building surveyor for the permit and inspections where they are required
- Stormwater connection and drainage work must be done by a licensed plumber
- Any electrical work, including lights or fans under the roof, must be done by a licensed electrician
- The roofing system’s installation instructions have to be followed for its warranty to stand, which is worth confirming with whoever fits it
Checking licences before work starts, not after, is the habit that prevents problems. The registers make it easy, and a professional expects the question.
The Questions to Settle Before You Order
- Does the project need a building permit, planning approval, or both?
- What is the wind classification for this site, and what specification does it require?
- What span will the frame carry, and are the beams and posts sized for it?
- Where will the stormwater go, and can the existing system take it?
- Who is pulling the permit and arranging inspections?
- Which licensed trades are needed, and who arranges them?
- What does the warranty cover, and what does it require of the installation?
- How will materials reach the site and be lifted into place?
Each answer is a sentence. Together they decide whether the project proceeds smoothly or becomes a story about a roof that had to be rebuilt twice.
Settle the Details Before You Order
The structural questions are not the glamorous part of an outdoor project. They are, however, the part that decides whether the roof performs for decades or creates problems that outlast the novelty of a new space. Settle the approvals, the wind classification, the spans and the drainage first. Ordering is the easy part once those have answers.
Sources: National Construction Code, wind classification guidance; state and territory building authorities, approval guidance for domestic structures.
Home & Garden
How to Choose a Plumber in Victoria: Licences, Quotes and Red Flags
Check the licence, the insurance and the written quote before you book. Here are the red flags that signal a botched job and the questions that separate quotes.
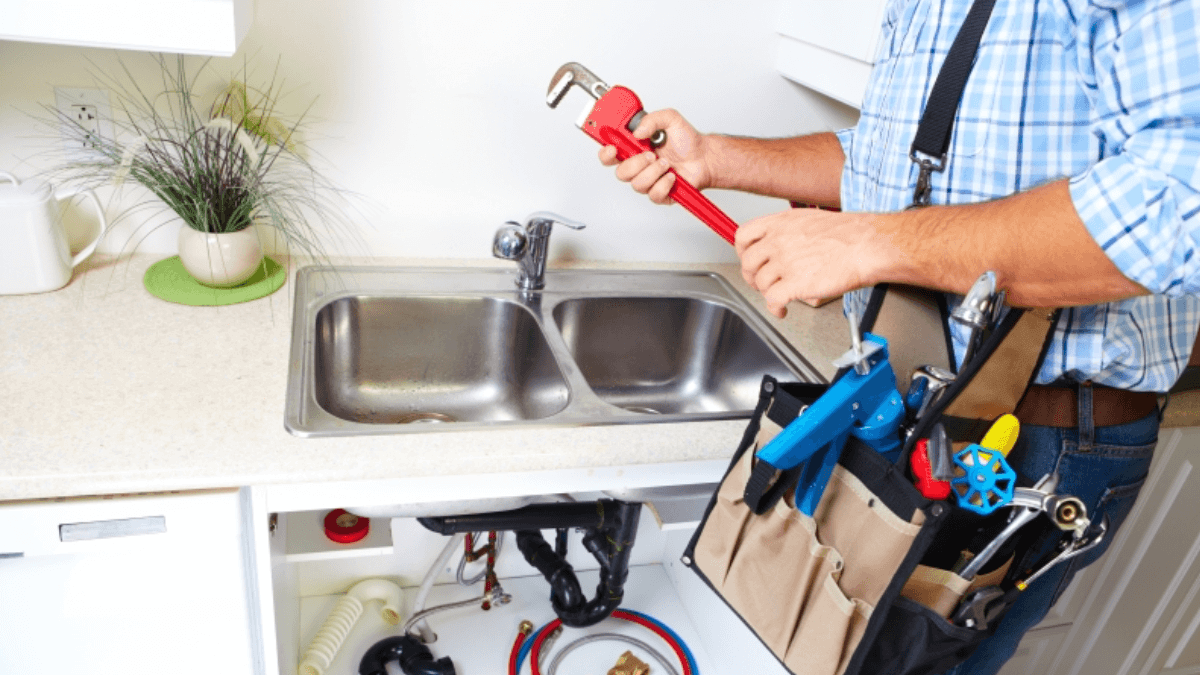
Plumbing problems arrive at the worst possible time: a burst pipe on a Friday evening, a blocked drain the morning of a family event, a hot water system that gives up in the middle of winter. In that moment, most people ring whoever answers first.
That is how bad outcomes start. Taking a few minutes to run some checks before you book saves money, repeat visits and, occasionally, a genuine safety problem. Here is what to look for, and what should send you elsewhere.
Why the Choice Matters
The wrong plumber produces shoddy repairs, inflated invoices and the same fault returning within weeks. Unlicensed or underqualified work can also create hazards that are not visible until much later. The vetting takes minutes. The alternative costs weeks.
What to Check Before You Book
In Victoria, plumbing work must be carried out by a plumber licensed with the Victorian Building Authority, and the licence number can be checked on the public register. Beyond the licence, ask for:
- Public liability insurance
- A compliance certificate for the work where one is required
- A written, itemised quote before work begins
None of this is awkward to ask for. A professional has it ready, because it is part of the job.
Red Flags That Should Make You Think Twice
Not everyone who calls themselves a plumber deserves the title, and the warning signs are visible if you know what to look for:
- Reluctance to provide a written quote before starting work
- Vague or verbal-only pricing, with no itemised breakdown
- No verifiable licence number when asked directly
- Pressure for a same-day cash deposit with no paperwork
- No reviews, no traceable local presence and no word-of-mouth history
- Quotes that are unusually cheap, which usually means something is missing
Any one of these warrants caution. Two or more, and you should ring someone else, however urgent the job feels.
Smart Questions to Ask Before You Book
The right questions, asked before you commit, separate the professionals from the rest:
- Are you licensed for this specific type of work, and insured?
- Can you provide a written, itemised quote before any work begins?
- Do you offer a warranty on both parts and labour?
- How much work do you do in this area?
- What happens if the problem turns out to be more complex than first assessed?
The answers tell you as much as the quote. A plumber who explains the likely cause, the repair options and the price in plain language will do the same on the day.
How to Compare Quotes Properly
Multiple quotes are only useful if you compare them the same way. Check whether GST is included, whether after-hours rates apply, and whether parts and labour are itemised. Ask whether the quote covers the whole problem or just the visible symptom, because a cheap quote that solves half of it is not cheaper. Be wary of any price that arrives without a written scope, since the final invoice tends to grow from there.
Why Local Experience Helps
Housing stock varies. Older suburbs have ageing pipework, outdated fixtures and drainage that predates current standards, and some areas deal with soil movement or damp that affects underground pipes over time. A plumber who works regularly in your area knows the typical failure points before opening a cupboard, and that translates into faster diagnosis and fewer surprises in the middle of the job.
Reviews and Reputation
Read reviews with a purpose. Look for the same themes recurring across many reviews, not one glowing outlier: punctuality, clear pricing, clean work and follow-up after a problem. Local community groups are useful too, because neighbours report both the good and the bad, and they have no reason to dress it up.
Making the Final Decision
Once the licence is verified, the quotes are written and the reviews are consistent, weigh the whole picture: responsiveness, how clearly the problem was explained, and whether the plumber seems interested in fixing the cause rather than whatever is fastest. Price matters, but the cheapest quote rarely survives contact with a second visit.
Sources: Victorian Building Authority, plumbing register; consumer affairs guidance on quotes and agreements for trades.


 Home & Garden1 year ago
Polycarbonate Roofing: What It Is Good For, and What It Is Not
- Travel1 year ago
Getting Involved in Alice Springs: Clubs, Events and Community Groups
- Healthcare1 year ago
Plantar Warts: The Treatment Ladder, From Patience to Surgery
- Healthcare1 year ago
GP Chronic Condition Management Plans: How Medicare Funds Ongoing Care (the plan formerly called EPC)
- Healthcare1 year ago
Heel Pain: Five Causes, One Order of Treatment
- Healthcare1 year ago
The Role of Speech Therapy in Treating Common Speech & Language Disorders
- Healthcare1 year ago
Laser Treatment for Nail Fungus: What It Involves and What the Evidence Says
- Travel11 months ago
The Ultimate Family Guide to Uluru: Fun Things to Do, Where to Stay & What to Pack