
Travel
The Ultimate Family Guide to Uluru: Fun Things to Do, Where to Stay & What to Pack
A family trip to Uluru covers the base walk, the cultural centre, Kata Tjuta, camel rides and the Field of Light. Here is where to stay and what to pack.


Late in the afternoon, when the sun drops towards the horizon, Uluru stops being red and starts changing. The rock shifts through orange, rust and deep ochre while the families on the viewing platform go quiet without being asked. For children, that moment distils the whole trip into ten minutes.
Discover Uluru Through a Child’s Eyes
Visiting Uluru with kids is one of the most rewarding trips you can take in Australia. The heart of the Red Centre packs culture, wildlife and open country into a place that holds children’s attention, and it leaves an impression that outlasts the flight home.
Whether you are chasing sunsets over the rock, learning Anangu stories at the Cultural Centre, or stargazing under a velvet outback sky, Uluru delivers. With a little planning around heat, distance and bedtimes, it is easier with children than most people expect.
Here is the practical version of the guide: what to do, where to stay, and what to pack.
What to Do at Uluru with Kids
Plan a mix of outdoor activity and cultural time, and build the days around the cooler hours.
1. Walk the Uluru Base Track
The base walk is about 10.6 kilometres and mostly flat, and you can walk short sections rather than the whole loop if little legs tire. Stop at Mutitjulu Waterhole, where rock art and Anangu stories give the place its meaning, and keep an eye out for lizards and native birds along the way.
2. Visit the Uluru-Kata Tjuta Cultural Centre
Spend an hour or two at the Cultural Centre and kids can watch Aboriginal artists at work, learn about bush foods, and see traditional tools used by the Anangu people. The exhibits are interactive and pitched so young travellers can follow them.
3. Explore Kata Tjuta (The Olgas)
About 40 minutes from Uluru, the domes of Kata Tjuta are every bit as impressive as the rock itself. The Walpa Gorge walk is short and partly shaded, which suits families; take water and stop often. Kids enjoy spotting the wildflowers, desert plants and rock formations shaped over millions of years.
4. Watch Uluru at Sunrise or Sunset
There is nothing quite like watching the rock change colour as the light shifts. The Talinguru Nyakunytjaku viewing area has easy access and wide views, so pack a picnic or hot chocolate and settle in for one of the best shows in Australia.
5. Ride a Camel Through the Desert
A camel ride is a different way to see the outback. The desert camels are gentle and used to children, and the guided tours stop often for photos with Uluru in the background. For a child who has never seen a camel up close, it is a highlight.
6. Experience the Field of Light
After dark, the Field of Light installation spreads across the desert floor with tens of thousands of solar-powered lights that shift through colour as you walk among them. Children are mesmerised, and the family photos take care of themselves.
7. Join a Dot Painting Workshop
Dot painting workshops run by Aboriginal artists are designed for all ages and give children a hands-on way to understand symbols, storytelling and cultural expression.
Where to Stay: Family-Friendly Accommodation Near Uluru
Most accommodation sits in Yulara, a small resort town about 15 minutes from the national park, and the range covers everything from apartments to campsites.
Emu Walk Apartments
Self-contained apartments with kitchens, living areas and laundry, which suits longer stays and families with young children.
Desert Gardens Hotel
A mid-range option with comfortable rooms overlooking the desert, a pool, on-site dining, and a short walk to Yulara’s shops and restaurants.
The Lost Camel Hotel
A modern, budget-friendly stay with compact rooms and access to the wider Ayers Rock Resort facilities, including playgrounds and cultural programs.
Ayers Rock Campground
For families who want the full outback experience, camping under the stars is hard to beat. The campground has powered and unpowered sites, barbecue areas, a pool and a playground.
What to Pack for a Family Trip to Uluru
The desert runs hot by day and cool at night, so layers matter more than anything else.
Clothing essentials
- Lightweight, breathable clothing, with long sleeves for sun protection
- A warm jumper or jacket for chilly nights
- Wide-brimmed hats for everyone
- Comfortable walking shoes
Sun and heat protection
- Sunscreen (SPF 50+)
- Sunglasses
- Fly nets, which are close to essential in the warmer months
- Refillable water bottles or hydration packs
For the kids
- Small backpacks for walks
- Binoculars for wildlife spotting
- Activity books or games for downtime
- Snacks and fruit for longer drives
Other must-haves
- Portable phone charger
- First-aid kit
- Swimmers, since most hotels have pools
- A torch or headlamp for evening outings
- Reusable bags and containers
Travel Tips for Families Visiting Uluru
- Plan ahead. Book tours and accommodation early, especially during school holidays.
- Time your visit. April to September brings the most comfortable temperatures for outdoor days.
- Talk about respect. Uluru is a sacred site and climbing is not permitted. A short conversation before you arrive helps children understand why.
- Carry water always, even on short walks.
- Take it slow. The heat tires children quickly, so plan rest stops and shaded breaks.
The same rule holds for any big family trip. School holiday accommodation fills just as fast on the coast, so if a Gold Coast holiday is also on the list, pick the season before you pick the hotel.
What the Trip Leaves Behind
A family trip to Uluru is more than a holiday. It is a chance to show children the country at its most extraordinary, to hear some of the oldest stories in the world, and to spend a few days without a screen in sight.
Pack the hats, charge the camera, and give the trip the time it deserves. The Red Centre has a way of staying with families long after they leave.
Sources: Parks Australia, Uluru-Kata Tjuta National Park; Northern Territory tourism information.
Travel
Six Months Left on Your Passport Is Already Late: Renewing in Australia
Passport renewal in Australia costs $422 for an adult and routine processing allows six weeks. Why six months of validity left can already be too late.


The expiry date and the date that counts
A month before a trip to Bali, most people run the same check: find the passport, open it at the photo page, read the expiry date and feel relieved that it falls sometime next year. The relief is premature. An expiry date records when the document stops being valid, and the country you are flying to applies a separate test, one set by its own government and measured against your travel dates rather than against the date printed in the passport.
Smartraveller, the Australian Government’s travel advice service, puts the position plainly on its Indonesia page: many countries require a passport to be valid for at least six months before entering or departing, and that includes transit. The same page adds a sentence worth reading twice, which is that the Australian Government does not make these rules. Each destination sets its own, which means the answer to “is my passport good enough?” depends on where you are going rather than on the passport.
Indonesia makes a useful worked case. For a visa on arrival, Smartraveller states that the passport needs at least six months of validity from the date you plan to enter, and it recommends six months from the date you depart as well. A passport with five months left on the morning of the flight therefore fails a test the traveller may not have known existed, even though the document is, by its own printed date, perfectly current.
The departure recommendation has a further effect that is easy to miss. The longer the stay, the later the six-month window ends, so a passport that clears the rule for a one-week holiday can fall short for a three-month stay on exactly the same document.
That is the trap in the title. Six months is the threshold itself, and a passport sitting right on it has no margin left at all.
Work it backwards
The arithmetic is short, and it runs in the opposite direction to the way people usually approach it. Start with the day you fly home, add six months, and compare that date with the expiry on your passport; if the expiry comes first, the passport fails the common version of the rule even though it is valid today.
Then subtract the time a renewal takes. The Australian Passport Office, part of the Department of Foreign Affairs and Trade (DFAT), allows up to six weeks for a routine application, so the realistic deadline for starting a renewal sits at least six weeks before departure, and earlier for anyone who would rather not depend on the far end of that window.
A worked example makes the shape clear. Suppose a family flies out to Bali on 6 March and home again on 20 March. Six months on from the return is 20 September, so any passport in the group expiring before 20 September needs replacing before the trip, and a routine renewal for a 6 March departure should be lodged by 23 January at the latest.
Two limits on that calculation deserve stating.
- Six months is a common rule rather than a universal one. Countries set their own periods and their own starting points, so the only reliable check is the Smartraveller page for each country on the itinerary, and that includes any country you only pass through.
- Six weeks is DFAT’s upper bound for routine processing, and DFAT does not promise any individual application will come in under it. The safe plan assumes the full six weeks.
A transit stop deserves its own line, because it is the part of the rule people skip. Smartraveller’s wording covers transit explicitly, so a connection through a third country brings that country’s rule into the calculation, even if you never leave the airport.
Renewal or a new application?
Not every passport can be renewed. DFAT treats renewal as a simpler path for adults whose existing passport meets a specific list of conditions, and if any one of them fails, the application becomes a new adult passport instead.
Under DFAT’s adult passport guidance, you can renew only if every one of the following is true of your current passport:
- It was issued when you were 16 or older.
- It was issued on or after 1 January 2006.
- It was valid for at least two years when it was issued.
- Your name, date of birth, place of birth and gender are the same as when it was issued.
- It is not lost, stolen or cancelled.
The list is short, and each condition removes a group of people from the renewal path. Someone who has changed their surname since the last passport fails the fourth. Someone whose most recent passport was issued at 15 fails the first. Anyone whose passport has gone missing fails the fifth. For each of them the route is a new adult application, and a new application needs a referee or guarantor, which a renewal does not.
Settling which path applies is the first task, because it decides the form you fill in and what you bring to the counter. Everything below assumes the renewal path; where a new application differs, DFAT’s adult passport page sets out the differences.
What it costs (fees from 1 January 2026)
DFAT publishes its fees on the Australian Passport Office fees page, which on 3 October 2026 still listed them as fees as of 1 January 2026. The figures below are taken from that page and apply from 1 January 2026.
| Service | Fee from 1 January 2026 (DFAT) |
|---|---|
| Adult passport, 10 years | $422 |
| Adult passport, 5 years (optional, aged 75 and over) | $213 |
| Child passport, 5 years | $213 |
| Fast Track processing, on top of the passport fee | +$107 |
| Priority processing, on top of the passport fee | +$308 |
Three points the table does not make on its own.
- Fast Track and Priority are added to the standard fee rather than replacing it. DFAT’s processing-times page lists each as the standard fee plus the extra amount.
- They buy speed. Who is allowed to buy it is a separate question, covered in the next section, and some applicants cannot use either service at any price.
- Australians renewing from overseas pay a surcharge on top of the application fee, which DFAT lists at $189 for an adult passport.
One row needs a word of its own. The five-year adult passport for applicants aged 75 and over is listed as optional, so it sits beside the ten-year passport as a choice rather than replacing it, and the decision is about how long the holder expects to keep travelling.
As a line in a trip budget, the passport belongs with the fixed costs that arrive before a single night is booked. It is the same discipline that applies when working out the costs of a first snow trip: settle the items whose price you already know, and the rest of the budget has something solid to sit on. The passport fee is known in advance. The variable is whether you pay the standard fee alone, or add $107 or $308 to it because the dates got away from you.
How long it takes
DFAT’s processing-times page splits the routine six weeks into three stages, each with its own upper limit:
- Lodgement: up to 5 business days.
- Processing: up to 20 business days.
- Postage: up to 5 business days.
Together, those three stages are DFAT’s six weeks. Each is an upper limit, so an application can move faster through any of them, but the routine figure is built from all three and a plan should be too.
The paid services shorten the processing stage. Fast Track processes an application in 5 business days, with up to 14 business days end to end. Priority processes it in 2 business days, with up to 11 business days end to end. The end-to-end figures are the ones to plan around, because a passport processed in two days still has to be lodged at one end and delivered at the other.
On performance, DFAT’s target is for 95 per cent of travel documents to be available within six weeks, and the figure it published for August 2026 was above 97 per cent. That is a strong record. It is also a statement about most applications rather than about any particular one, and a routine application lodged five weeks before departure is relying on being in the majority.
The faster services come with conditions, which DFAT sets out on its urgent travel page. They are available only to eligible applicants in Australia, and they are not available where:
- there are difficulties confirming the applicant’s identity;
- a child’s application does not have full consent; or
- the applicant has had two or more passports lost or stolen in five years.
So a renewal lodged from overseas cannot be hurried along by paying for Priority, and neither can an application caught by any of those three conditions. For those applicants the routine timeline is the only timeline, which is why the backwards calculation in the second section matters most for exactly these readers.
The renewal itself
Renewal starts online, and it finishes in person. DFAT still requires the application to be lodged at a counter, so the sequence runs in three steps.
- Complete the renewal application online, then print it. DFAT notes that renewal forms are not available at post offices, so the printed copy has to come with you.
- Get two passport photos that meet DFAT’s photo guidelines, and write your full name on the back of one of them.
- Take the printed form, both photos and your current passport to a participating post office and lodge the application there.
No referee is needed to renew. That is the practical reward for meeting the five conditions above: the renewal depends on your own paperwork and nobody else’s.
The photos are the step most worth slowing down for. DFAT’s photo guidelines are specific, and this article does not reproduce them; the time to read them on DFAT’s site is before the photos are taken.
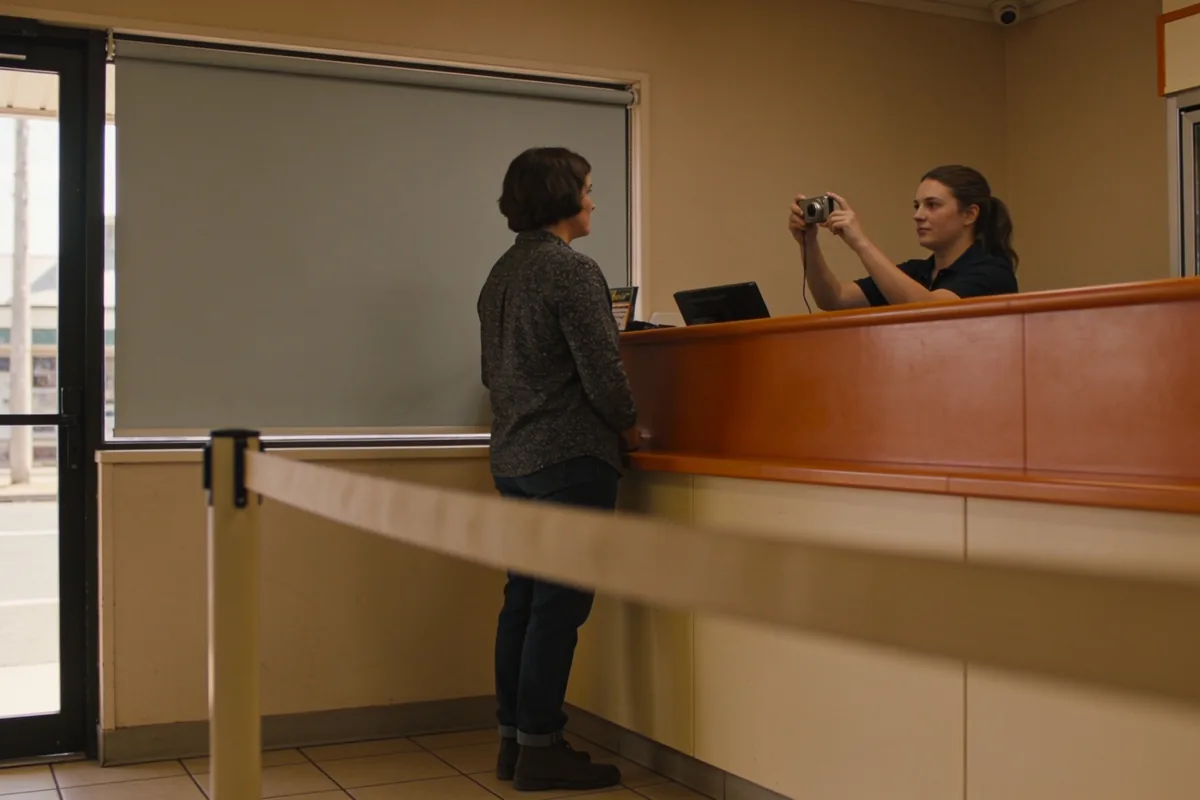
One detail about timing at the counter matters for anyone paying for speed. Under Passport RAPID, which DFAT describes on its urgent travel page, an application lodged before 12 pm on a business day reaches DFAT the same day. For a Fast Track or Priority application, a morning visit keeps a day off the clock.
Two things people do not expect
The first concerns the old passport. DFAT states that the current passport is generally cancelled when the renewal is lodged, and that any remaining validity does not carry over to the new one. Two consequences follow.
- In the general case you cannot keep travelling on the old document while the new one is processed, so lodging in the middle of a busy run of travel leaves a gap with no usable passport.
- The months still left on the old passport are not added to the new one, so there is nothing to gain by waiting for the expiry to come closer before renewing. There is only the risk.
The second is the passport number. A renewed passport carries a new number, and DFAT is explicit that it changes. Flight bookings and visas recorded against the old number need updating with the new details, and a mismatch between the passport you hold and the passport on the booking is far easier to fix from home, weeks out, than on the day. A short list of every booking and visa made on the old passport, written before you lodge the renewal, turns the update into a single sitting once the new passport arrives.
Before you book the flights
The check takes a minute and is best done before any money changes hands. Take the return date, add six months, and compare it with the expiry on every passport in the travelling party. If any passport fails, renew it now on the routine service and keep the $107 or $308 that a late application would otherwise cost. Then confirm the rule for each country on the itinerary on its Smartraveller page, because six months is common rather than universal.
Once the passport is settled, the rest of the trip admin follows the same principle of dealing with the known costs early, through to hiring a car without the extra fees. The passport is simply the one item on the list whose deadline is set by someone else.
One limit, stated plainly to finish. The fees and timeframes here are DFAT’s figures as published on the dates given, and DFAT revises them; its fees and processing-times pages are the places to confirm both on the day you apply.
Sources: Australian Passport Office, Fees (https://www.passports.gov.au/help/fees); Australian Passport Office, Processing times (https://www.passports.gov.au/help/processing-times); Australian Passport Office, Urgent travel (https://www.passports.gov.au/help/urgent-travel); Australian Passport Office, Adult passport (https://www.passports.gov.au/adult-passport); Smartraveller, Indonesia travel advice (https://www.smartraveller.gov.au/destinations/asia/indonesia)
Travel
An Australian Snow Trip: Six Costs, and the Three to Skip
What a first snow trip in Australia really costs, from lift passes and gear hire to snow chains and lodge nights, and the choices that move the total most.

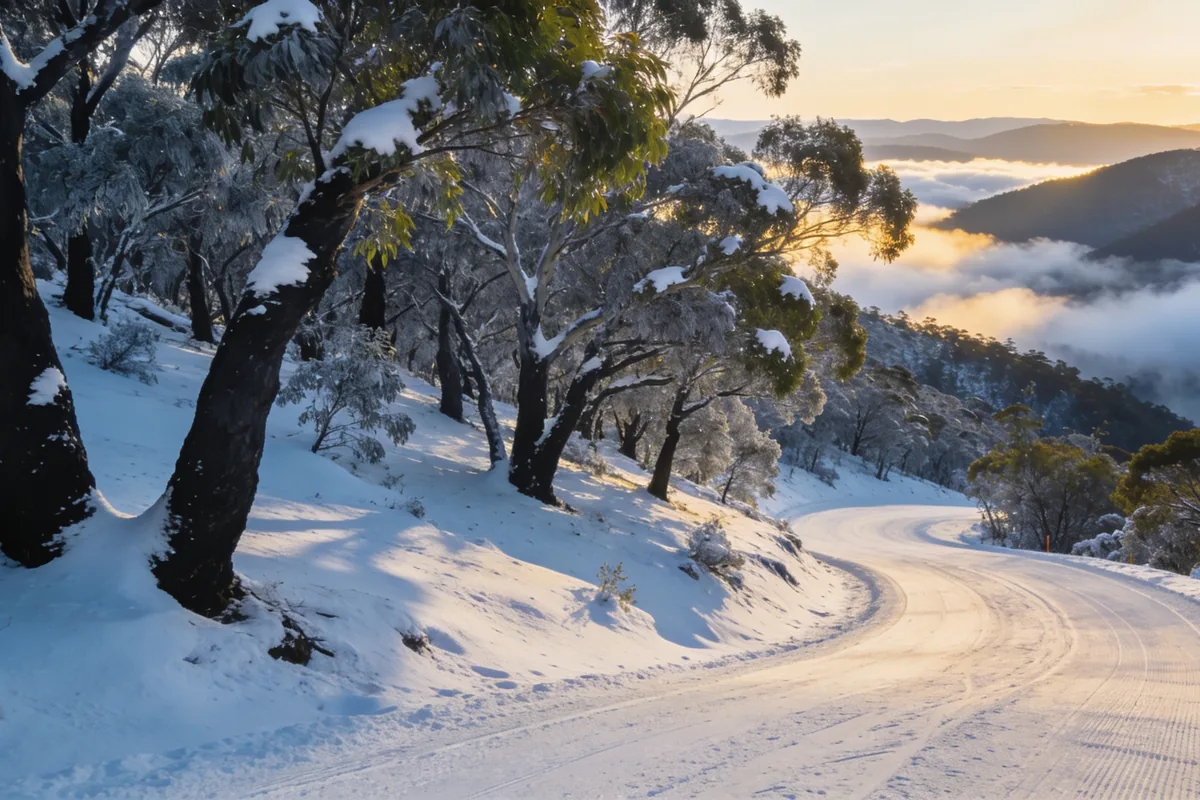
The car park at first light
The car park at an Australian ski resort at first light is a study in preparation. Boots crunch on gravel that froze overnight. Breath hangs in front of faces. Ahead, a queue is already forming for the first lift, and the people in it have the calm of practice about them: hired gear adjusted the day before, a pass already collected, a plan that does not depend on the weather being kind.
Then there is the other queue, the one you can overhear comparing notes on what the weekend cost. Almost always, somebody in the second group has paid close to double what somebody in the first paid for the same two days on the same snow. Not bad luck, and not a better lesson. The trip was simply booked in the wrong order.
That is the reassuring part. A first snow trip is not expensive by nature. It is expensive by accident, because the total is built from four decisions, and three of them are far cheaper to get right before anything is booked.
The light does the rest of the work. At this hour the snow is still blue in the shadows, the ridge behind the car park is catching the first gold of the day, and the whole mountain feels like a held breath. Worth noticing, too: the calm queue and the anxious one are standing in the same morning, under the same weather. Nothing about the mountain separates them except what happened weeks ago, at a kitchen table.
When to go, and what that does to the price
The Australian snow season runs from the June long weekend into early October, and while the snow itself is never predictable, the shape of the season is. July and August are peak: school holidays, the most reliable cover of the year, and the highest accommodation prices of the season. The shoulder weeks at either edge are cheaper and quieter, and the snow there can still be good, though nobody can promise a particular week. What can be promised is the trade. Peak sells certainty of cover at peak prices; the shoulders sell lower prices at the cost of certainty.
For a first trip the sensible reading is simple. If the cost matters more than the odds, aim for a shoulder week and accept the gamble. If you would rather the first experience happen in the best conditions, pay for peak and treat the difference as tuition. What no first-timer should do is pay peak prices because they booked late; peak punishes late decisions twice, once on the bed and once on the pass. And if the budget is the deciding vote and sunshine is negotiable, the warm-weather version of the same exercise exists on the same coastline, and the site’s guide to the Gold Coast and its quieter months does that trip the same honest way.
Within the season, the fortnight either side of the school holidays behaves differently again: the same slopes, a noticeably quieter village, and accommodation that comes back into range once the families have gone home. If the trip can move, that is the week to chase.
Where, and what each option costs you in travel
Australia has two snow states, and the choice between them is less about the snow than about the shape of the trip. New South Wales means Perisher and Thredbo, high in Kosciuszko National Park, a half-day drive from Sydney or a shorter one from Canberra. One is a proper village at the foot of the lifts; the other is a spread of areas served by a car park and a train through the mountain, and both will suit a first-timer perfectly well. Victoria means Mount Buller, Mount Hotham and Falls Creek, all within a few hours of Melbourne, and the difference between them is largely how much of the trip happens on the mountain versus on the road up to it.
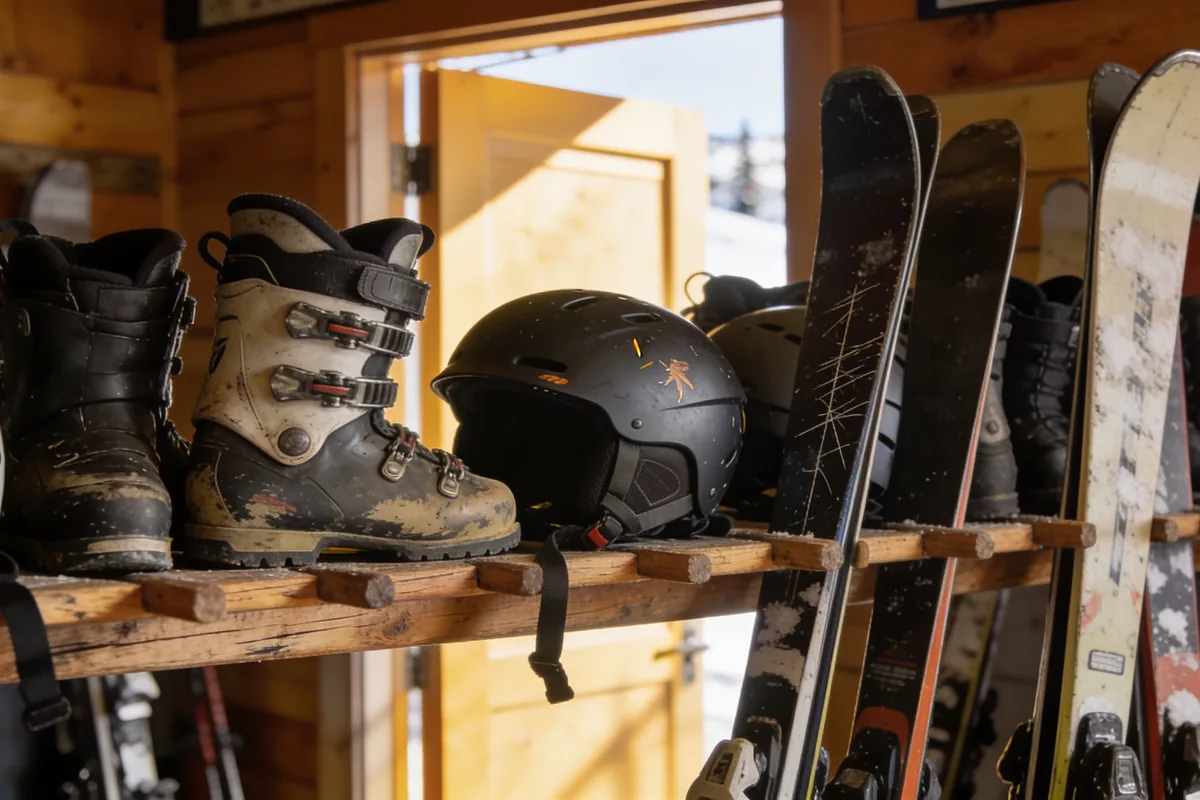
What a first-timer is really choosing between is a day trip, a drive-in resort with a car park, or a village where the car stays put all weekend. The village is the most relaxing version and usually the most expensive; the drive-in is the cheapest and puts the weather between you and the first lift. And the classic first-timer mistake belongs here: choosing on vertical metres. The resort with the most terrain is a wonderful place to be a beginner’s future self, and an irrelevant measure for the two days a beginner actually spends on the easiest slope.
One cost the brochures never map is distance inside the trip. A bed an hour down the road is cheaper, and it buys you the same drive twice a day, in the dark at one end of it. Across a two-day first trip, an hour each way is two hours of snow time spent in a car, and that belongs beside the room rate when the two are compared.
The cost map
Six things make up the total, and each behaves differently. What follows describes what drives each one, not a price, because every dollar in the snow industry changes by season and resort and the live figure is always the resort’s or the operator’s to publish. The shape of the bill, though, stays the same.
Lift passes. Priced by resort, by the number of days, and by how early they are bought. The window rate is the most expensive version of the same ticket, which is why booking before the season starts is the single easiest saving on the list.
Accommodation. For most first trips, the largest line, and the one with the most leverage. On-mountain beds cost the most and save the most driving. A town an hour down the road costs less and buys you a daily drive, and in chain conditions that drive carries its own cost in time and gear.
Gear. Hire versus buy, and how much of either. The honest first-trip answer is to hire everything that touches the snow, then own the pieces that touch your skin: base layers, socks, gloves, where fit and hygiene matter and the price of being wrong is small.
Lessons. The one line item a first-timer should not cut. A group lesson on day one provides the fundamentals, a structure and company, and it costs a fraction of private instruction while teaching a beginner most of what a beginner needs. The site’s family guide to packing for a destination with real temperature swings covers the layering logic that makes a lesson easier to enjoy.
Travel. Fuel, park entry, coach transfers and, in some conditions, chains. The costs that appear after the headline price are the same ones the site describes for car hire and its extra fees; read the transport budget the way you would read a hire agreement.
The extras. Food on the mountain, lockers, clothing hire for the one item you did not bring. None of these decides the trip on its own, and together they are where a loose plan quietly spends its money.
| What you pay for | What drives the cost | Where it flexes |
|---|---|---|
| Lift passes | The resort, the number of days, how early you buy | Buy early, ski fewer days, one resort |
| Accommodation | Distance from the lifts, peak versus shoulder | Stay a town down the road, travel midweek |
| Gear | How much you hire, and which pieces you buy | Hire everything on trip one |
| Lessons | Group or private, half day or full | Group lesson on day one |
| Travel | Distance, fuel, park entry, transfers, chains | Coach instead of two cars, share the drive |
| Extras | On-mountain food, lockers, clothing hire | Pack the layers you already own |
One travel requirement belongs on this list as a rule rather than a budget line. Fitting chains, or an approved alternative traction device, is a legal requirement in certain alpine conditions and at certain entry points, and it is enforced. The requirements are set by the state road authority and the resort, and they change with the weather, so check the current rules for the exact road and entry point before you drive, not in the queue at the gate.
What you can skip
The honest half of a cost guide is the part that tells you what not to buy.
Skip the top-of-the-range jacket hire if you already own a waterproof shell; the shell is doing the work, and a mid-range pair of hire pants will not embarrass you. Skip the village for a first trip if you are driving and the budget is paying attention, because the bed is the biggest saving available. Skip the multi-day pass if you have never stood on skis; one or two days is exactly enough to learn whether you love it, and a three-day pass bought in advance cannot be refunded into enthusiasm.
Do not skip the lesson, and do not skip checking the chain rules. Those are the two places where saving money now costs more later.
And one skip that applies only on the way home: the gear shop at the base of the mountain, where a good weekend turns into a wardrobe. If a second trip happens, it will tell you what to buy. The first trip never does.
What the first trip should actually be
Two days, one resort, a lesson on day one, everything hired. That shape is deliberately unambitious. The first day teaches you what you did not know you did not know; the second day lets you use it while it is fresh. One resort means no mid-trip transfer eating a morning. The lesson, group, day one, is the best-spent money of the weekend. Hiring everything means that if it turns out you are not a snow person, the discovery cost you a weekend rather than a wardrobe. This is the version of the trip that answers the only question that matters on a first visit, which is whether there should be a second.
Before you book anything
The mountain asks for almost nothing that the modern world is not already good at: an early booking, a bed down the road, hired gear and a lesson. Do those four things in that order and the trip becomes the calm version, the first queue, where the people look like they have been coming for twenty years. The snow will do whatever it likes. Everything else on the bill was a decision, and every one of them was yours to make before the car was loaded.
Sources: Visit Victoria – Snow and skiing in Victoria · NSW National Parks and Wildlife Service – Kosciuszko alpine area and chain requirements · Perisher and Thredbo – official lift pass and season information · Mount Buller and Mount Hotham – official resort information
Travel
What Makes Some Local Transport Options More Reliable Than Others?
Punctuality, availability, clean cars and drivers who know the area decide whether a local service is dependable. Here is what to look at before you book.

Everyone says they want reliable transport. Fewer people can say what reliability actually looks like before they have booked. A glossy app, a low fare and a friendly ad can all hide the same problems: a driver who never confirms, a vehicle that turns up late and tired, or a service that goes missing the one time you are counting on it.
The difference between a dependable option and a frustrating one comes down to a handful of factors, and most of them can be checked before you book.
The Factors That Actually Determine Reliability
Booking confirmation. A booking confirmed in writing, with a time and a vehicle type, beats a verbal promise every time. If a service will not confirm, it will not commit.
Driver accountability. You should know who is coming, and the service should know where its driver is. A name, a number and a way to track the vehicle are not luxuries; they are what make an on-time pickup enforceable.
Vehicle condition. A well-maintained car with working air conditioning, a seatbelt for every passenger and a clean interior suggests the operator runs a real maintenance schedule. A tired vehicle usually points to a tired business.
Accessibility. If anyone in your group uses a wheelchair or a walking aid, check ahead. Is there a vehicle that fits, and is the driver experienced in assisting? “We can probably” is not an answer.
What happens when plans change. The real test of a service is a missed booking or a late change. Does someone answer, does a replacement arrive, and is there a fair cancellation policy? Ask before you need to know.
What to Ignore
A lot of what is sold as reliability is marketing. “Premium”, “five-star” and “most trusted” are words anyone can paint on a door. What matters is verifiable: a written confirmation, a punctuality record, a phone number that a person answers, and a complaints process that does not evaporate after the fare is paid. Judge the claims you can test.
Why Punctuality Is the Baseline
Punctuality is the first thing passengers notice and the first thing services let slide. A dependable operator plans routes to avoid known delays, watches conditions in real time and arrives for pickups with margin rather than luck. When that discipline holds, the rest of your day gets easier. When it breaks, a twenty-minute wait can cost you an appointment.
Flexibility: Where the Difference Shows
Public transport runs to a timetable, and that is the trade: it is cheap and predictable but not adaptable. A service that can adjust when your plans move, travel direct instead of via three stops, and suit your timing rather than its own has a structural advantage for anything that is not a simple commute.
Safety and Comfort Are Part of the Service
A journey is not reliable if it is uncomfortable or unsafe. Look for well-maintained vehicles, professional drivers, clean interiors, and a service that can show it meets the passenger transport standards that apply in your state or territory. That last point is checkable, and it separates operators from people with a car and a business card.
The Three Main Options, Compared
Public transport
- Fixed schedules that may not match your day
- A single delay affects many passengers
- Routes are set, not flexible
Personal vehicles
- Full control of timing
- Parking, fuel and maintenance are your problem
- Still exposed to traffic and breakdowns
Cab and booked services
- Direct, flexible travel from door to door
- No parking to find at either end
- Accountability in the form of a driver, a dispatch record and a fare
Each has its place. The mistake is assuming one is always best, rather than asking which is reliable for this specific trip.
Key Benefits of Choosing Well
- Time: less waiting and fewer detours
- Less stress: no uncertainty about when you will arrive
- Consistency: the same standard every time
- Comfort: a better end to a long day
- Safety: a professional handling the journey
Practical Checks Before You Book
- Does the service operate when you actually need it?
- Will it confirm the booking in writing?
- How does it handle a missed or changed booking?
- What do recent reviews say about punctuality specifically?
- Is it clear which vehicle and driver you will get?
Checking the Behaviours, Not the Brand
Reliability is not a brand promise; it is a set of behaviours you can check before you commit: confirmation, accountability, vehicle condition, accessibility, and a plan for when things go wrong. Ask those questions of any service, and the choice usually makes itself.
FAQs
What makes a transport service reliable?
Punctuality, consistent availability, well-maintained vehicles, clear communication and a fair policy for changes and cancellations.
Why is flexibility important in local transport?
It lets you travel on your own schedule rather than a fixed timetable, which matters whenever the trip is not a routine commute.
How does local knowledge improve travel efficiency?
Drivers familiar with the area can avoid predictable congestion and choose better routes, which reduces travel time.
Are cab services better than public transport?
They are more flexible and travel direct, at a higher cost. Public transport wins on price and predictability.
What should I check before choosing a transport option?
Availability, confirmation, the condition of the vehicle, accessibility if you need it, and what happens when a booking changes.
Sources: state and territory transport regulators, taxi and passenger service standards.


 Home & Garden1 year ago
Polycarbonate Roofing: What It Is Good For, and What It Is Not
- Travel1 year ago
Getting Involved in Alice Springs: Clubs, Events and Community Groups
- Healthcare1 year ago
Plantar Warts: The Treatment Ladder, From Patience to Surgery
- Healthcare1 year ago
GP Chronic Condition Management Plans: How Medicare Funds Ongoing Care (the plan formerly called EPC)
- Healthcare1 year ago
Heel Pain: Five Causes, One Order of Treatment
- Healthcare1 year ago
The Role of Speech Therapy in Treating Common Speech & Language Disorders
- Healthcare1 year ago
Laser Treatment for Nail Fungus: What It Involves and What the Evidence Says
- Eco Friendly1 year ago
Reuse or Recycle: Get the Order Right and Household Waste Drops